Ordering embroidered apparel often starts with a simple idea: a business logo on a polo, a name on a cap, or lettering that makes a school jacket personal. The questions come next. Will the design stay readable? Which garment should you choose? What needs checking before the embroidery begins?
At IDC Embroidery, we help customers explore custom embroidery for headwear, letterman jackets, patches and apparel in Bellflower. This guide explains the main stages involved in an embroidery project and the decisions to confirm with us along the way.
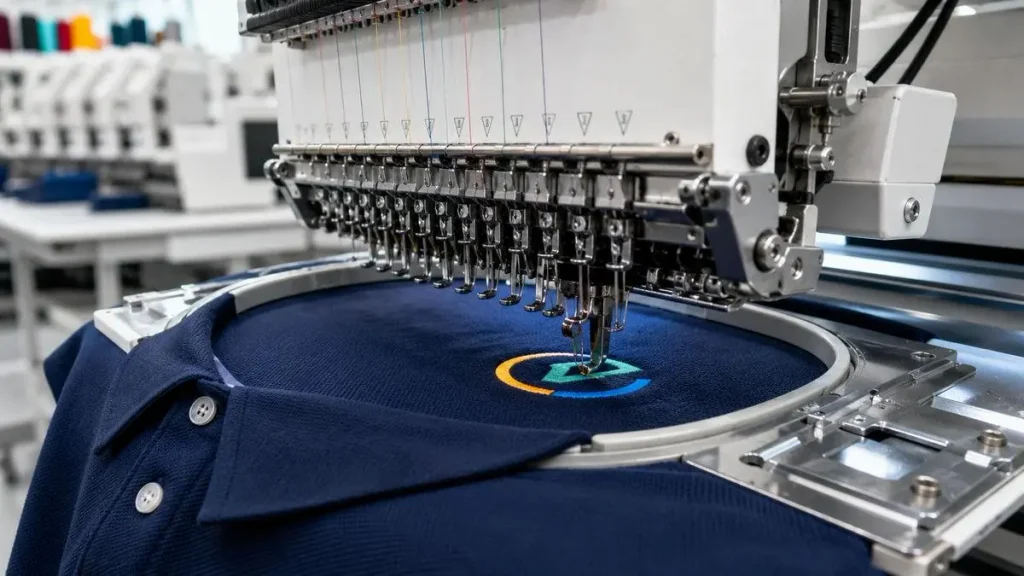
Step 1: Explain What You Need the Apparel to Do
We start with the purpose of your project. Knowing who will wear the item and how it will be used helps guide the garment, decoration and placement decisions.
A logo for everyday workwear has different requirements from a personalized jacket celebrating a school achievement.
Tell Us Who Will Wear It
Explain whether you are ordering for yourself, employees, students, a club or a team. For group orders, include the expected quantity and whether everyone needs the same design.
Also identify any personalized details. A shared logo with different employee names requires a clear record of which name belongs on each garment.
Share Your Priorities and Event Date
Tell us what matters most: comfortable daily wear, recognizable branding, a particular appearance or a commemorative design.
If you need the apparel for an event, share the date early. We can then confirm whether the project requirements and available schedule suit your needs. An event date is important planning information, but it should not be treated as a confirmed completion date until agreed.
Our embroidery services page provides a starting point for exploring your options.
Step 2: Choose the Garment and Decoration Location
The garment affects how the embroidery can be produced. Fabric thickness, stretch, seams and available space all influence what is suitable.
We consider the item and artwork together because a design that works on one product may need adjustments for another.
Match the Product to Its Intended Use
For business apparel, consider comfort, movement and the clothing your team normally wears. Our polo and apparel embroidery page can help you explore that category.
For headwear, review our custom hats. Cap construction and the usable decoration area matter, especially when a logo contains small lettering.
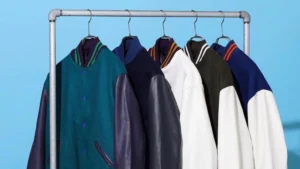
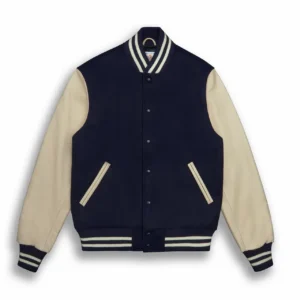
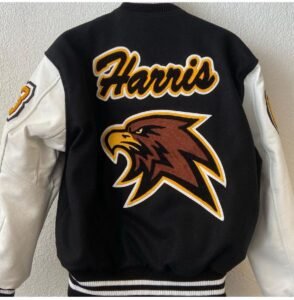
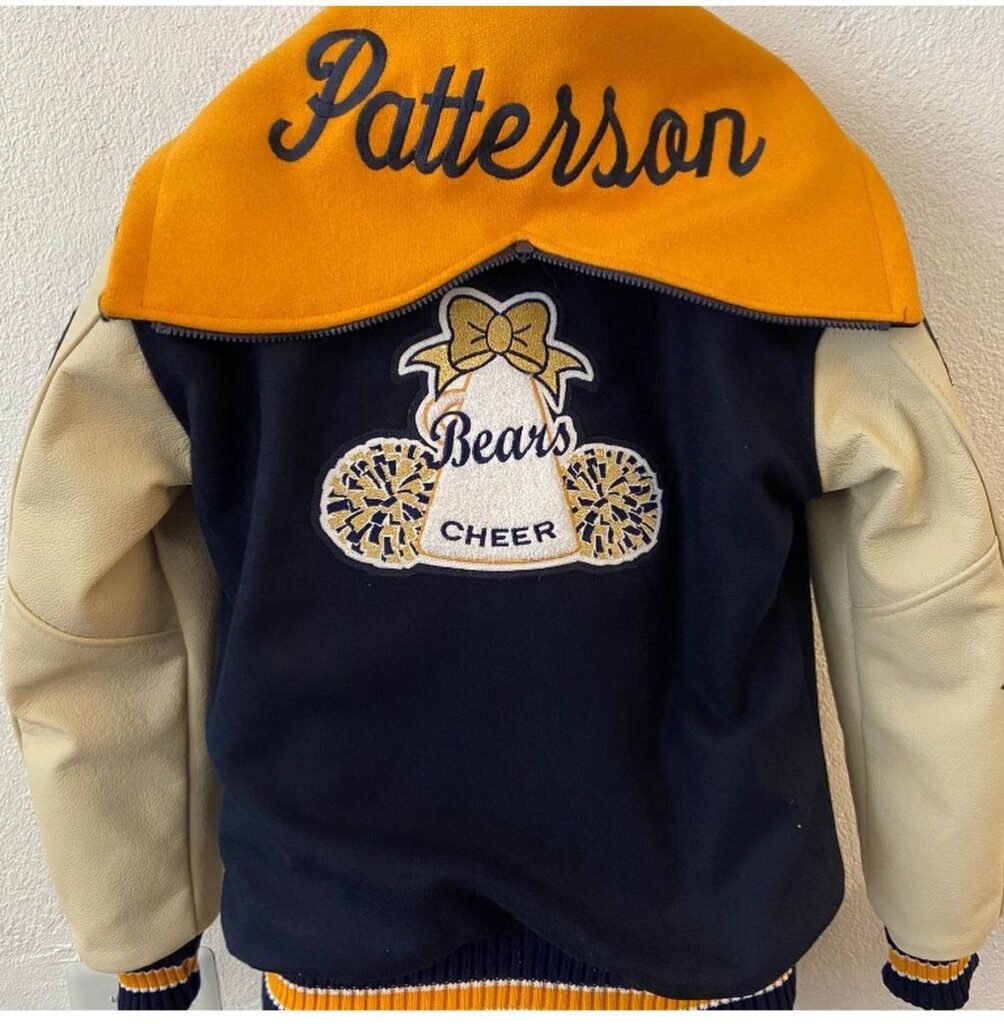
For a school or commemorative project, our letterman jackets provide another option to discuss.
Confirm the actual products, sizes and colors available for your order before finalizing your selection.
Identify the Placement Clearly
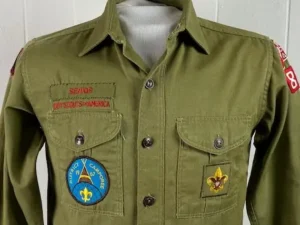
“On the front” can mean several different positions. Specify whether you want decoration on the left chest, cap front, sleeve, jacket back or another area.
A reference photograph can help explain your preference. Include an approximate design size if you have one, while allowing room to review what suits the garment.
If you already own the item, contact us with photographs and material information. We need to confirm its suitability and whether we can accept it for the requested customization.
Step 3: Review the Artwork at Its Intended Size
Your design needs to work in thread, not just look attractive on a screen. Small lettering, fine outlines and tightly packed details may need changes when embroidered.
We focus on preserving the parts that make your design recognizable.
Separate Essential Details From Optional Elements
Identify the features that must remain: the business name, main symbol, initials or particular wording.
If the design includes a small tagline or detailed background, consider whether those elements will remain useful at the finished size. Simplifying them may help the important information read more clearly.
For example, a business could use its main symbol and name on a cap, while reserving a more detailed version for a larger jacket placement.
Confirm Exact Wording
Check every name, number and date carefully. Capitalization, punctuation and spelling should be intentional.
For personalized group orders, send an organized list rather than spreading corrections across several messages. Keep garment sizes and personalized wording clearly connected.
Neat embroidery cannot correct a spelling mistake in the wording approved for production.
Step 4: Prepare the Design for Embroidery
Digitizing translates artwork into instructions an embroidery machine can follow. Those instructions describe how stitches form the design, including their sequence, direction and other production settings.
It involves more than saving an image in a different file format.
Understand Artwork and Stitch Files
A logo image shows what the design looks like. An embroidery file contains instructions for creating it with stitches.
If you already have an embroidery file, share that information. Its suitability may depend on the product, design size and how it was originally prepared.
Contact us to confirm which files we can use for your order and whether additional design preparation is needed.
Allow for Product-Specific Adjustments
The same logo may require different preparation for a cap and a polo. Fabric behavior, shape and decoration size can affect the stitching approach.
We want you to understand these differences before expecting identical production settings across several products. A consistent brand appearance may still require adjustments to each item.
Step 5: Confirm the Details Before Production
Before embroidery begins, the order details need to be clear. Confirm the garment, quantity, sizes, wording, placement and agreed color choices.
Ask us which review steps apply to your project, including whether a visual layout or physical sample is available and whether it involves additional time or cost.
Review More Than the Logo
Look at the whole order rather than focusing only on the artwork.
Check:
- Garments: product, color, quantity and size breakdown.
- Decoration: exact wording, approximate dimensions, location and thread color choices.
- Order arrangements: agreed cost, completion expectations and collection or delivery details.
A screen preview can help communicate a layout, but it does not reproduce thread texture or guarantee an exact color match on every display.
Keep Changes Clear
If you request a revision, explain precisely what should change. “Move the design slightly” is less useful than identifying the direction and preferred position.
Keep the latest approved details together so an earlier version is not confused with the final instructions.
Step 6: Set Up and Stitch the Apparel
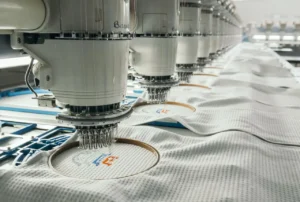
Embroidery generally involves securing the garment, using suitable support materials and running the prepared design on an embroidery machine.
Hands-on setup and monitoring remain important throughout this stage.
Support the Fabric Appropriately
The garment needs to stay controlled during stitching. Depending on the item, hoops, frames and backing materials may help support the fabric.
Appropriate support helps manage movement and distortion. The setup must suit the garment rather than simply pulling every fabric as tight as possible.
Monitor the Stitching
During production, factors such as thread behavior, alignment and fabric movement need attention.
Design complexity and stitch count influence the work involved, so we avoid treating every logo as a project with the same production time. Confirm the schedule for your actual order.
You can browse our work to explore examples of decoration and placement.
Step 7: Check the Finished Items and Confirm Care
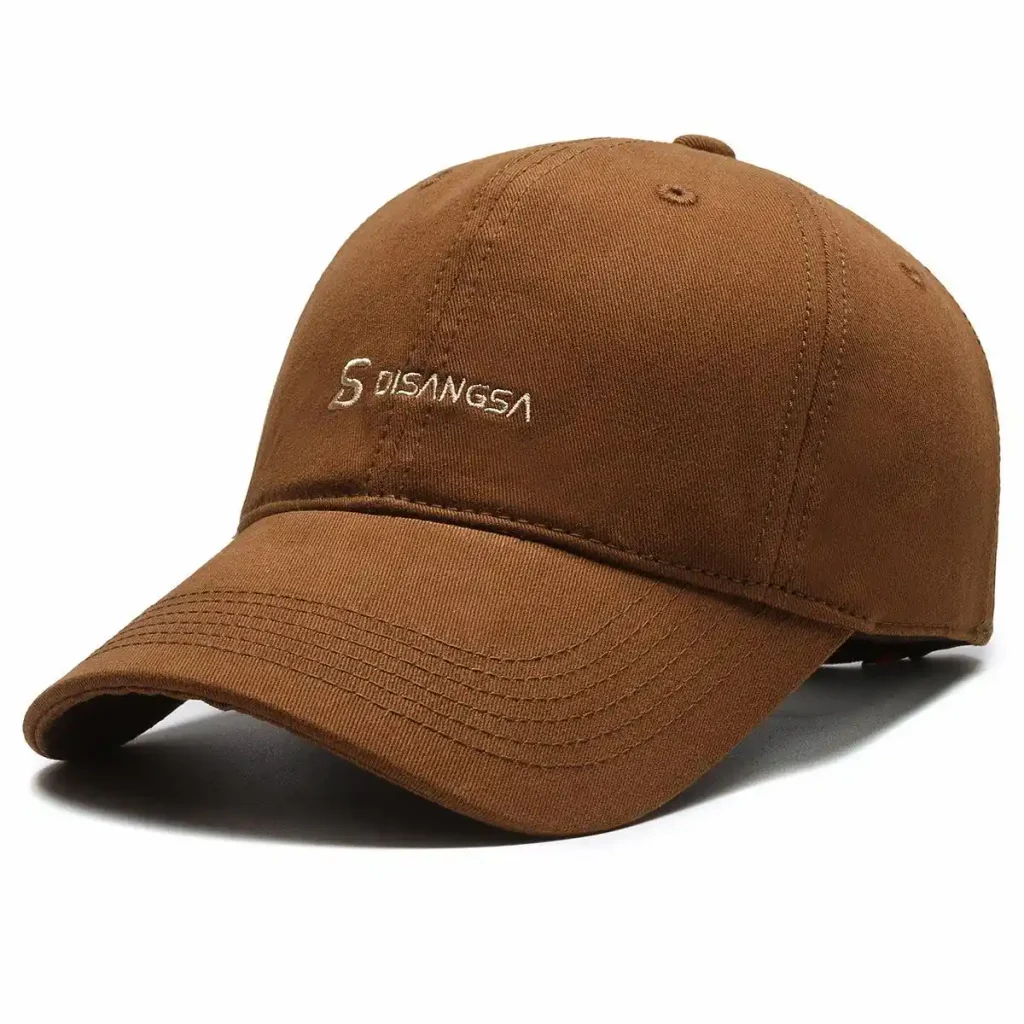
Once stitching is complete, finishing and checking help identify issues that need attention. Relevant checks include wording, placement, visible thread ends and the appearance of the surrounding fabric.
When you receive your order, compare it with the agreed details before distributing items to a group.
Check Personalized Items Individually
For an employee or team order, match each name to the correct garment and size. Count the items and review any differences that were requested.
This makes distribution easier and gives you a clear opportunity to raise questions.
Follow the Finished Garment’s Care Instructions
Care depends on the garment as well as its decoration. A polo, cap and letterman jacket may require different cleaning methods.
Follow the applicable garment and embroidery instructions together. Ask us for clarification if they differ, and confirm any collection or shipping arrangements rather than assuming a particular option is included.
Frequently Asked Questions
Can I Order Embroidery Without a Finished Logo?
Yes, you can contact us with an idea or reference image. We can review what you have and confirm what preparation is needed. Describe the product, wording and appearance you want.
Can I Send a Screenshot of My Design?
A screenshot can help explain your idea, although it may not contain enough detail for production preparation. Send the clearest original version you have and ask us which files we can use.
Do I Need to Arrange Digitizing Before Contacting You?
Contact us first. We can review your artwork and explain the preparation requirements for your order. If you already have a stitch file, let us know so its suitability can be assessed.
Can I Use the Same Logo on Hats and Polos?
Often, a shared design can be adapted across products. However, size, detail and preparation may need to differ. We review those factors to help maintain a consistent appearance.
Will the Thread Match My Brand Colors Exactly?
Share your brand color references and identify how important the match is. Screens and thread materials can display colors differently, so confirm suitable thread choices and any available comparison method with us.
Can Everyone in My Group Have a Different Name?
Tell us how many personalized versions you need. Send the exact names with the associated sizes and quantities so we can confirm the project requirements and quote.
Will I See a Sample Before My Order Is Produced?
Ask us which review options apply to your project. A visual layout and a physical stitched sample serve different purposes, and availability, cost and scheduling need confirmation.
How Long Will My Embroidery Order Take?
Timing depends on the items, quantity, artwork preparation, personalization and current availability. Share your deadline when requesting a quote, then confirm the agreed schedule before proceeding.
Start Your Custom Embroidery Project in Bellflower
A clear brief makes the process easier: tell us what you need, share your artwork, identify the garment and confirm the details that matter before production.
Contact IDC Embroidery to request a quote for your project. Call us at (562) 202-9794, or find us at 9727 Somerset Boulevard, Bellflower, CA 90706.